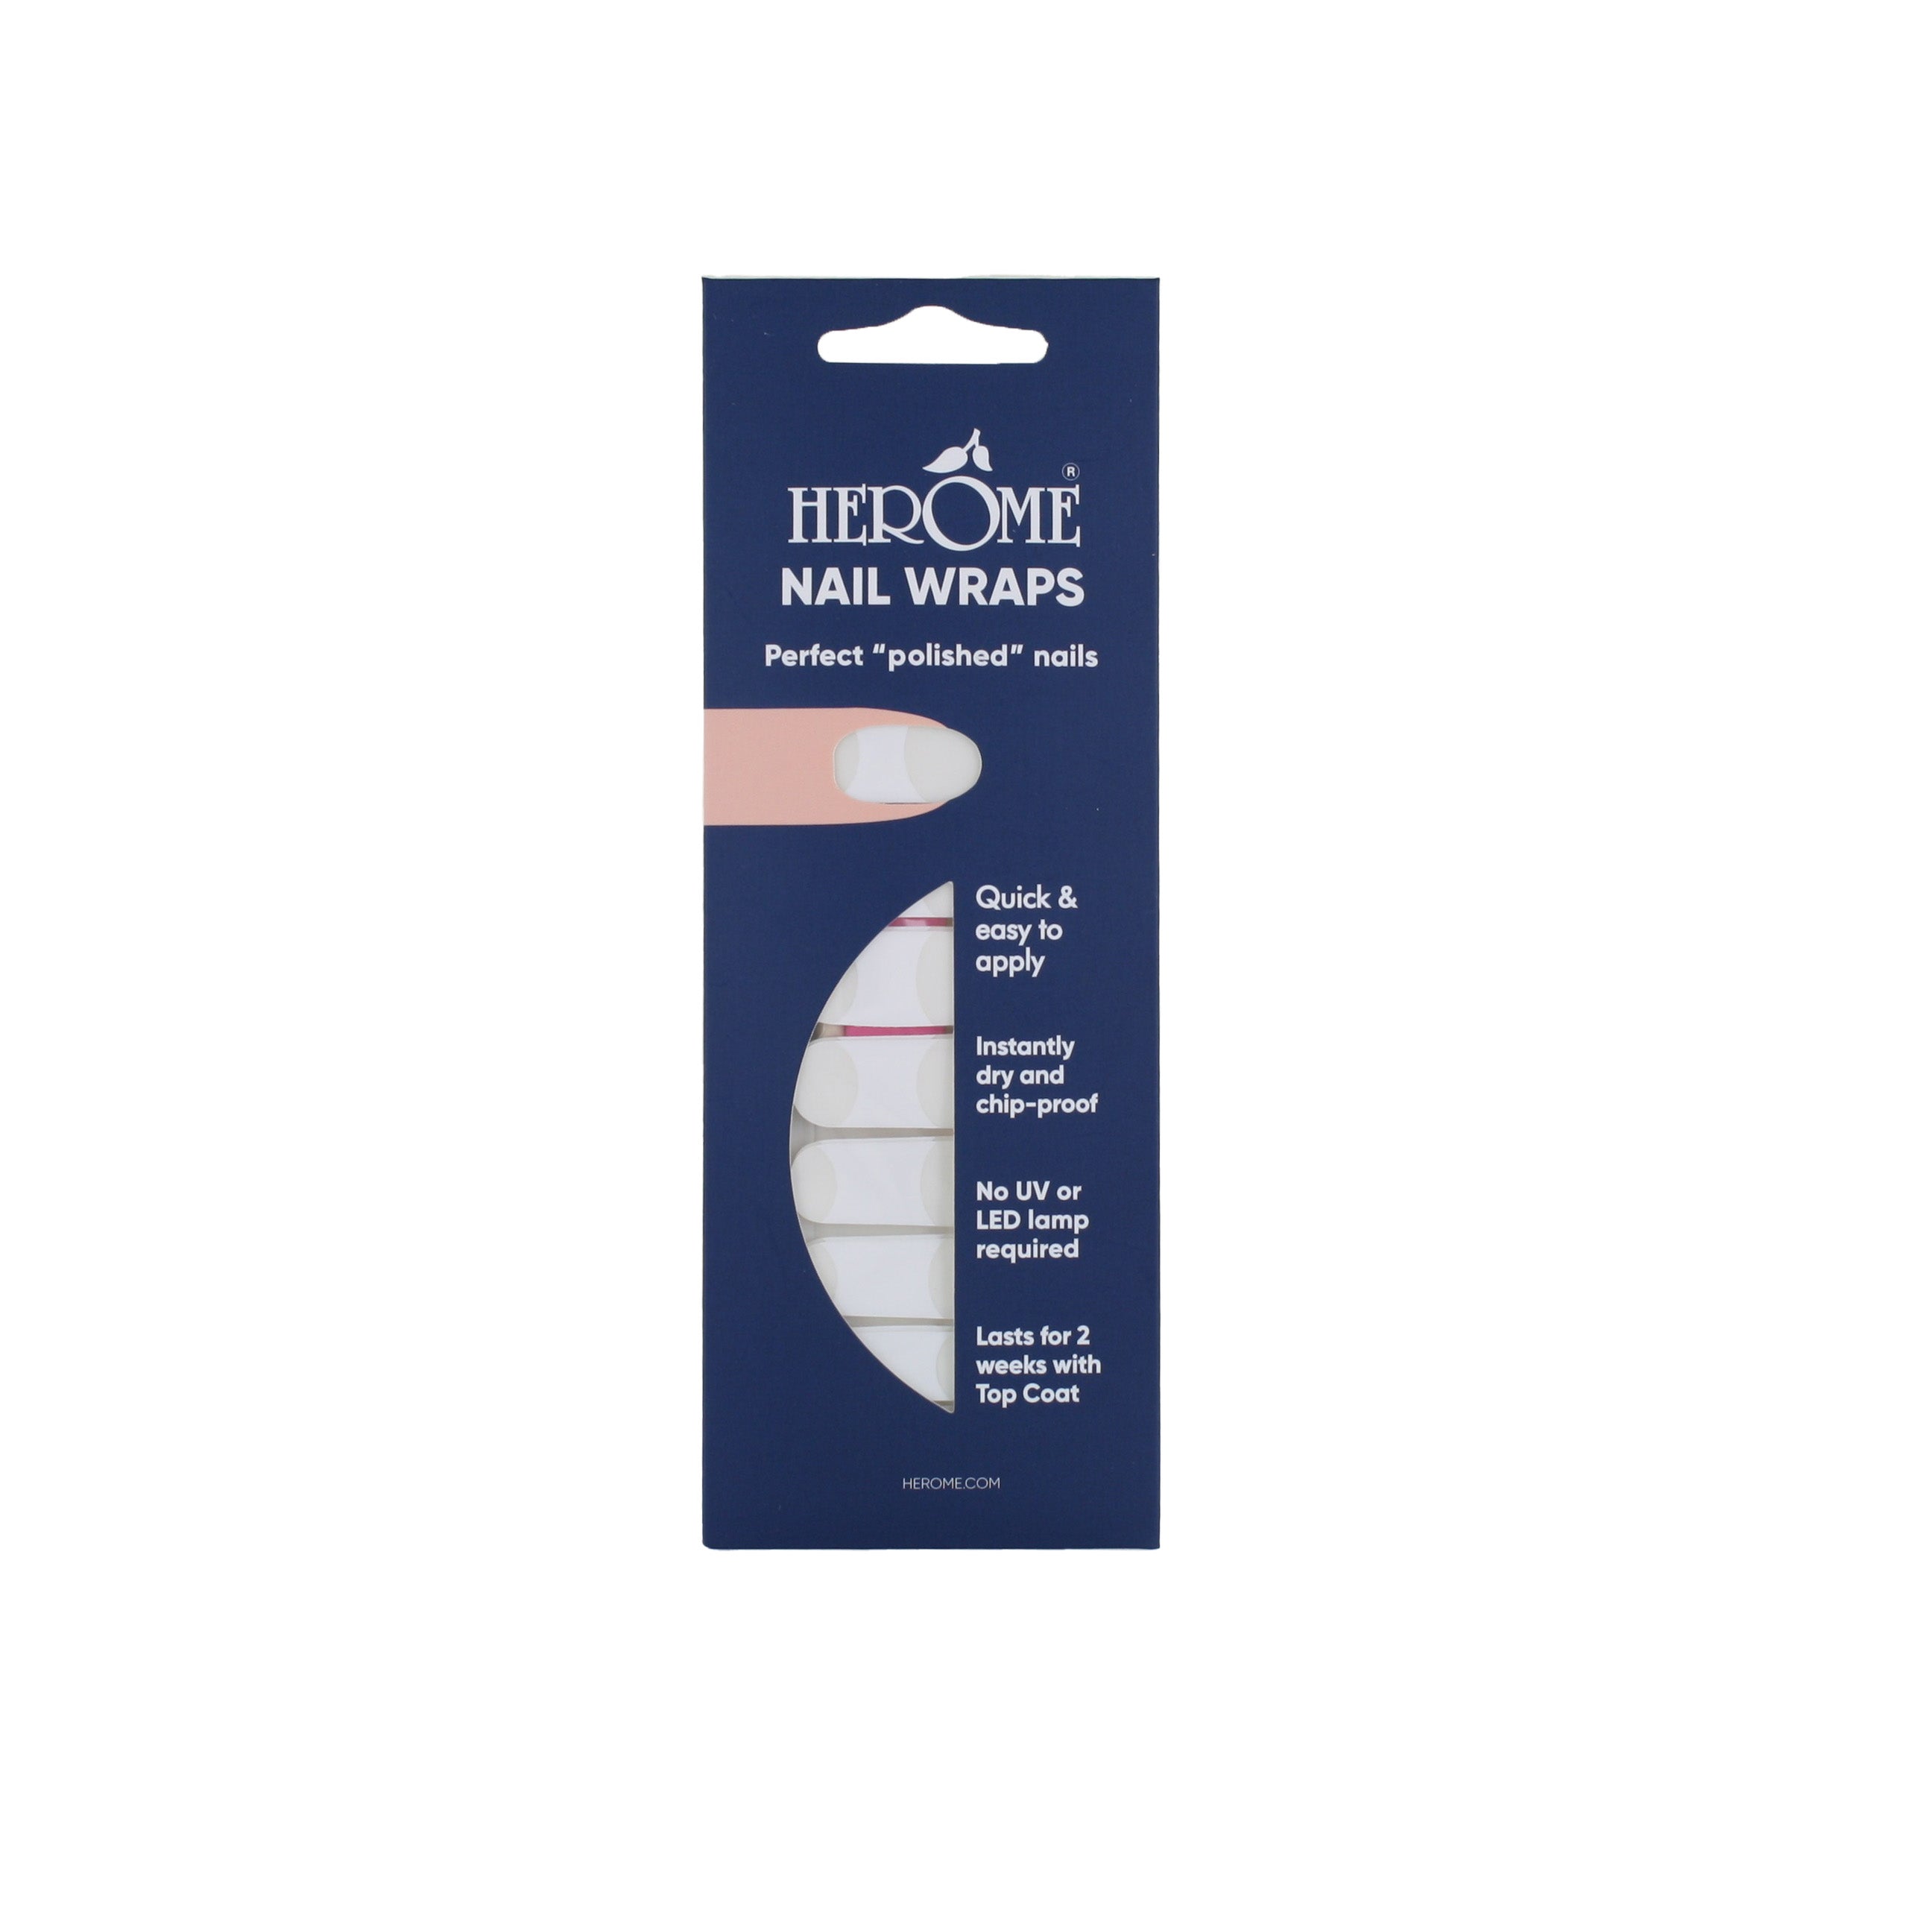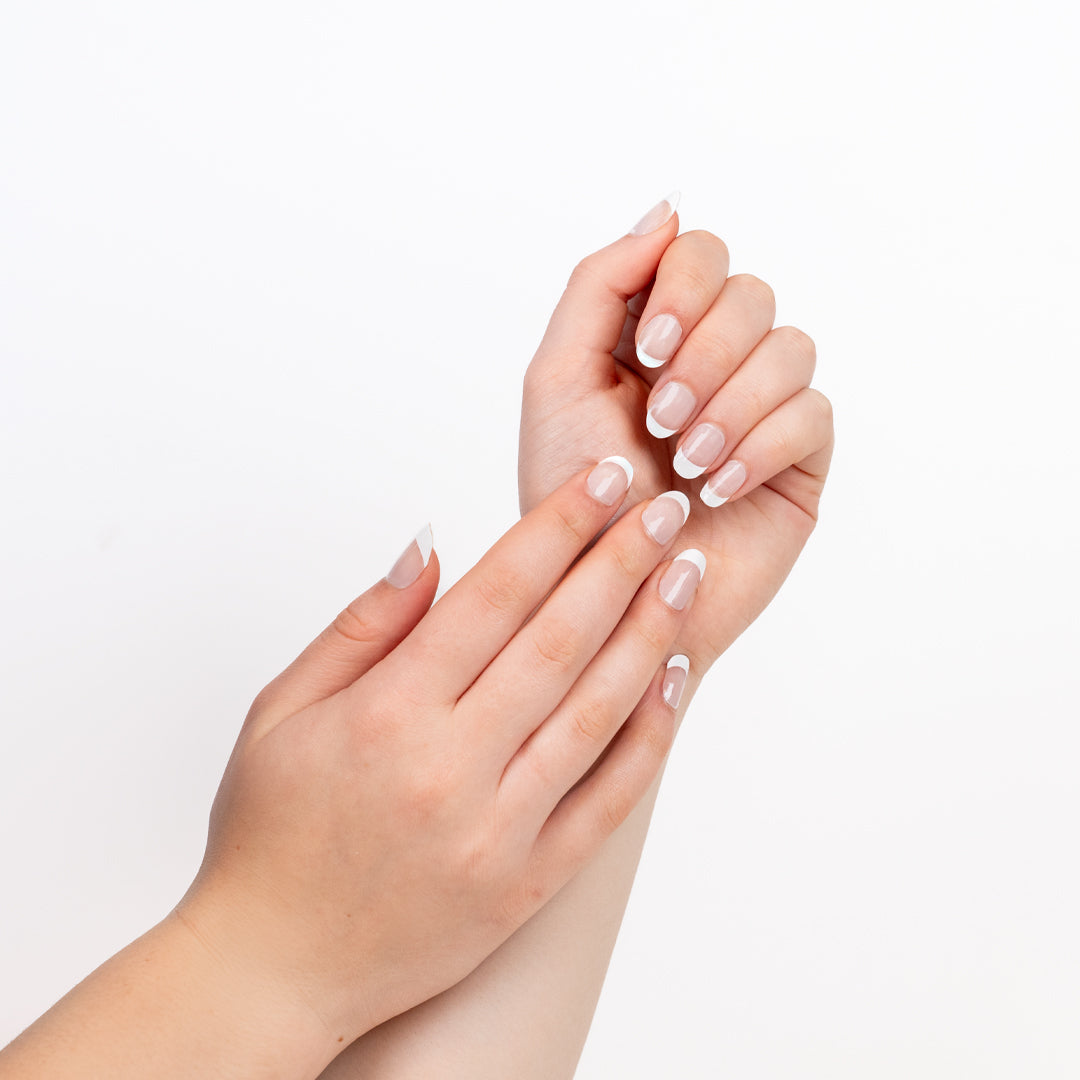
Preparation: Push the cuticles back with the cuticle pusher. By pushing back the cuticles you can enjoy the Nail Wrap for longer, because you never apply it on the cuticle but just below it.
Make sure you degrease the nail with, for example, the Herome Caring Nail Polish Remover before applying the stickers. This ensures better adhesion and prevents bubbles under the sticker.
Step 1: Choose the right sticker
Select the nail sticker that is slightly smaller than your own nail (If you have artificial nails, choose the larger variant to mask the curve of the artificial nail). If you can't quite find the right size, you can always trim the sticker a little. Remove the protective layer from the selected nail sticker.
Step 2: Paste
Remove the sticker from the sticker sheet and place the sticker just under the cuticle. Press the sticker from bottom to top, up to the top of the nail. Make sure the sticker does not touch the skin or cuticle.
Once the sticker is in place, you can fold the edge around the top of the nail and ensure that the sticker is properly pressed everywhere.
Step 3: File
File the excess sticker from top to bottom, following the fold. For larger pieces, cut them off first with nail clippers. Avoid filing sideways to prevent damage. For short nails you can also shorten the sticker with nail clippers.
FINISHED!
TIP: Bring the Herome Protective Top Coat On. This ensures that the sticker is sealed so that you can enjoy your manicure for at least 10 days. The Top Coat also provides a beautiful and professional shine.
Removing the Nail Sticker:
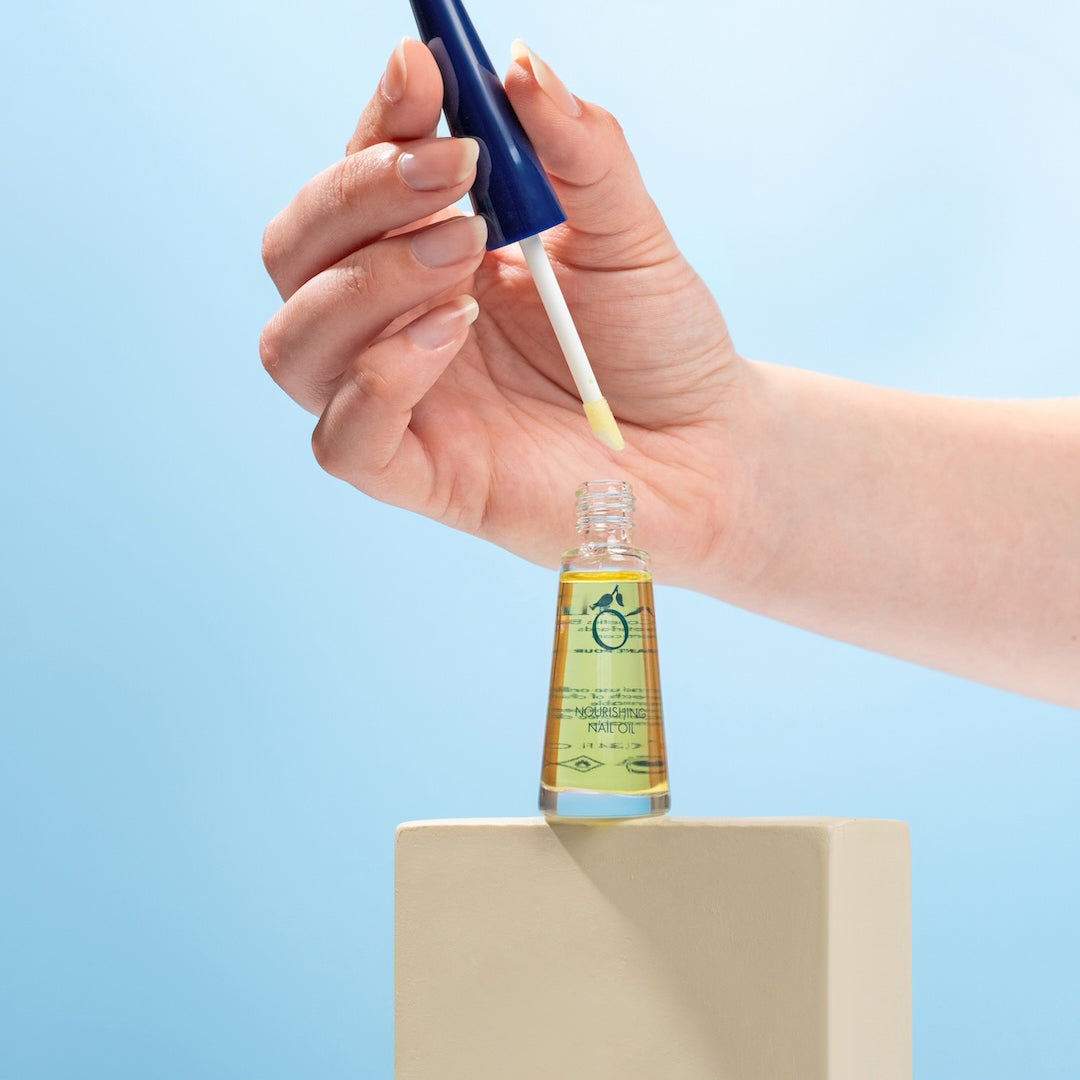
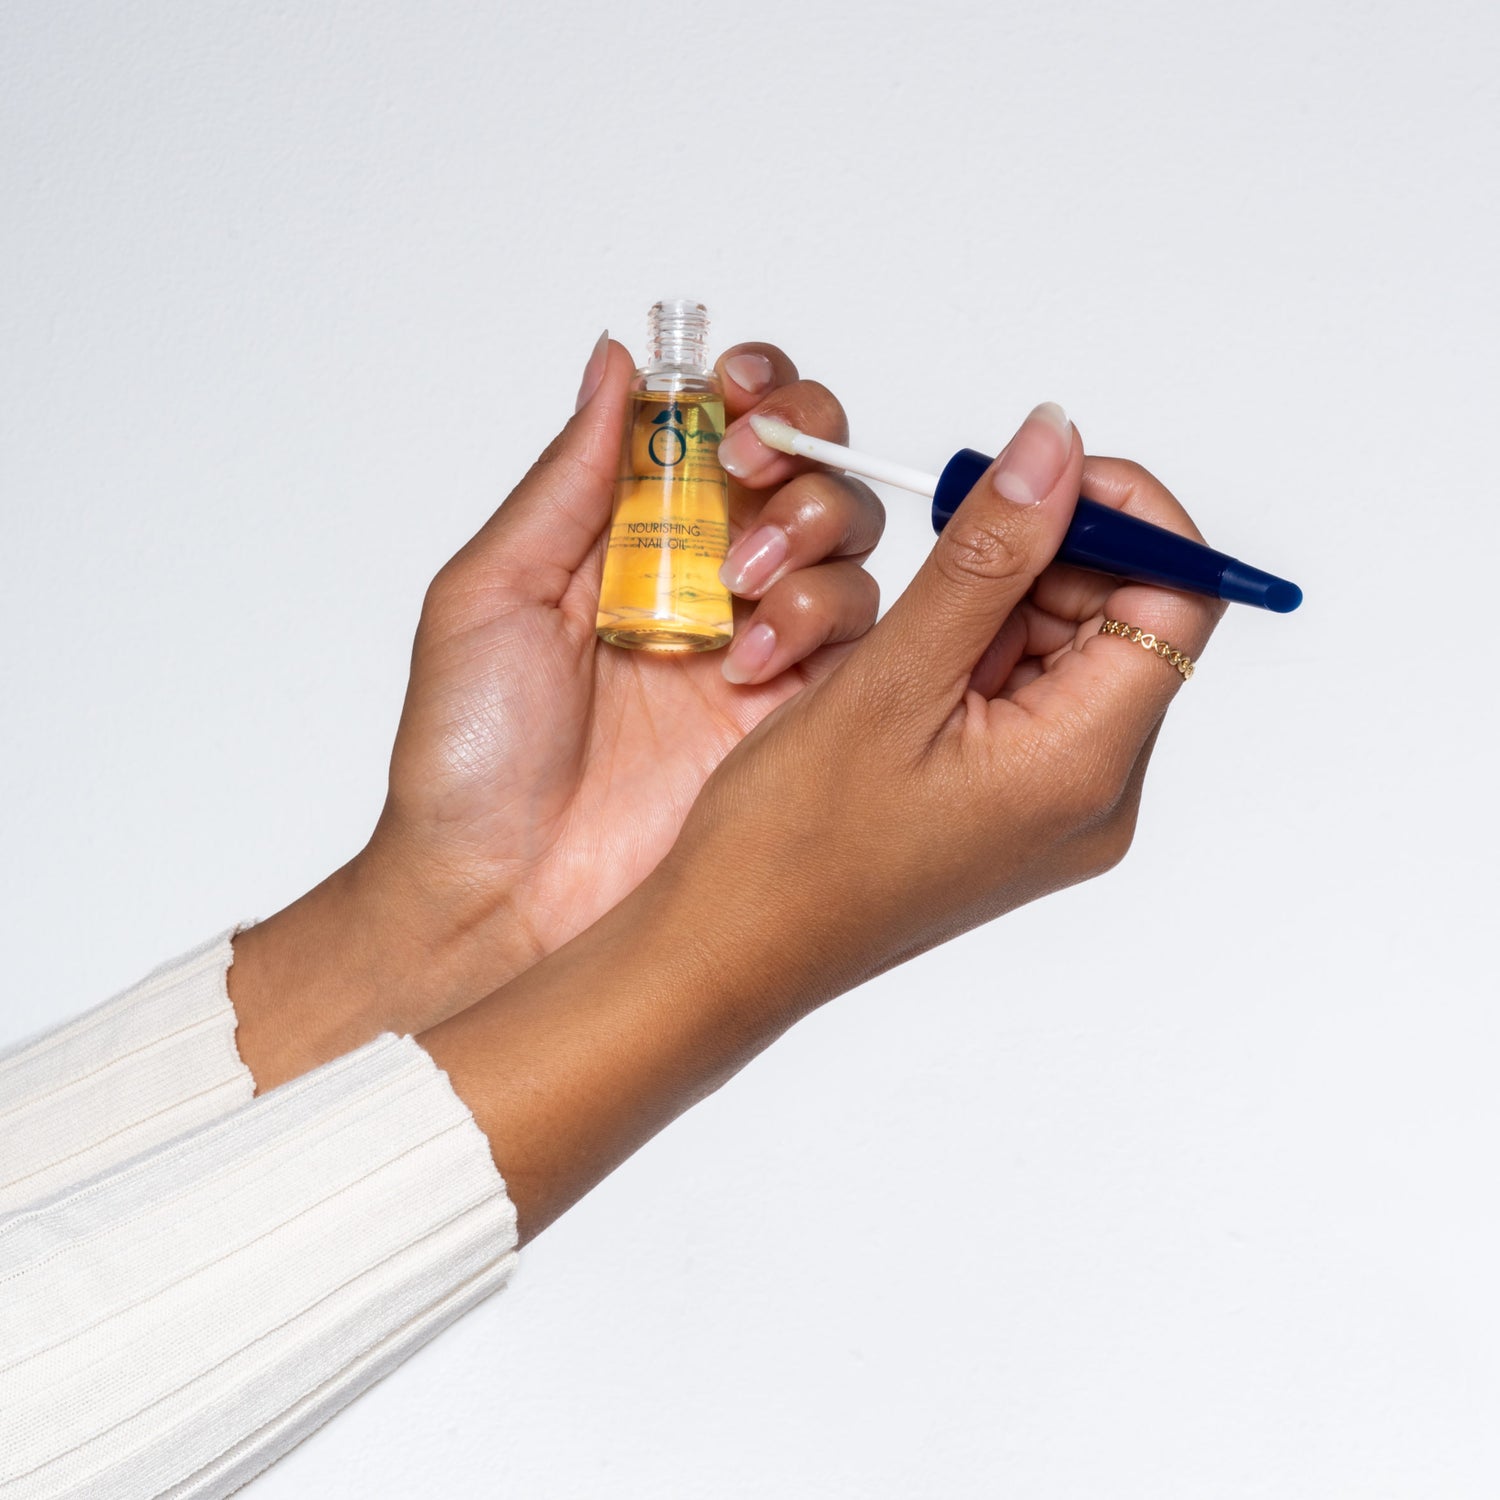
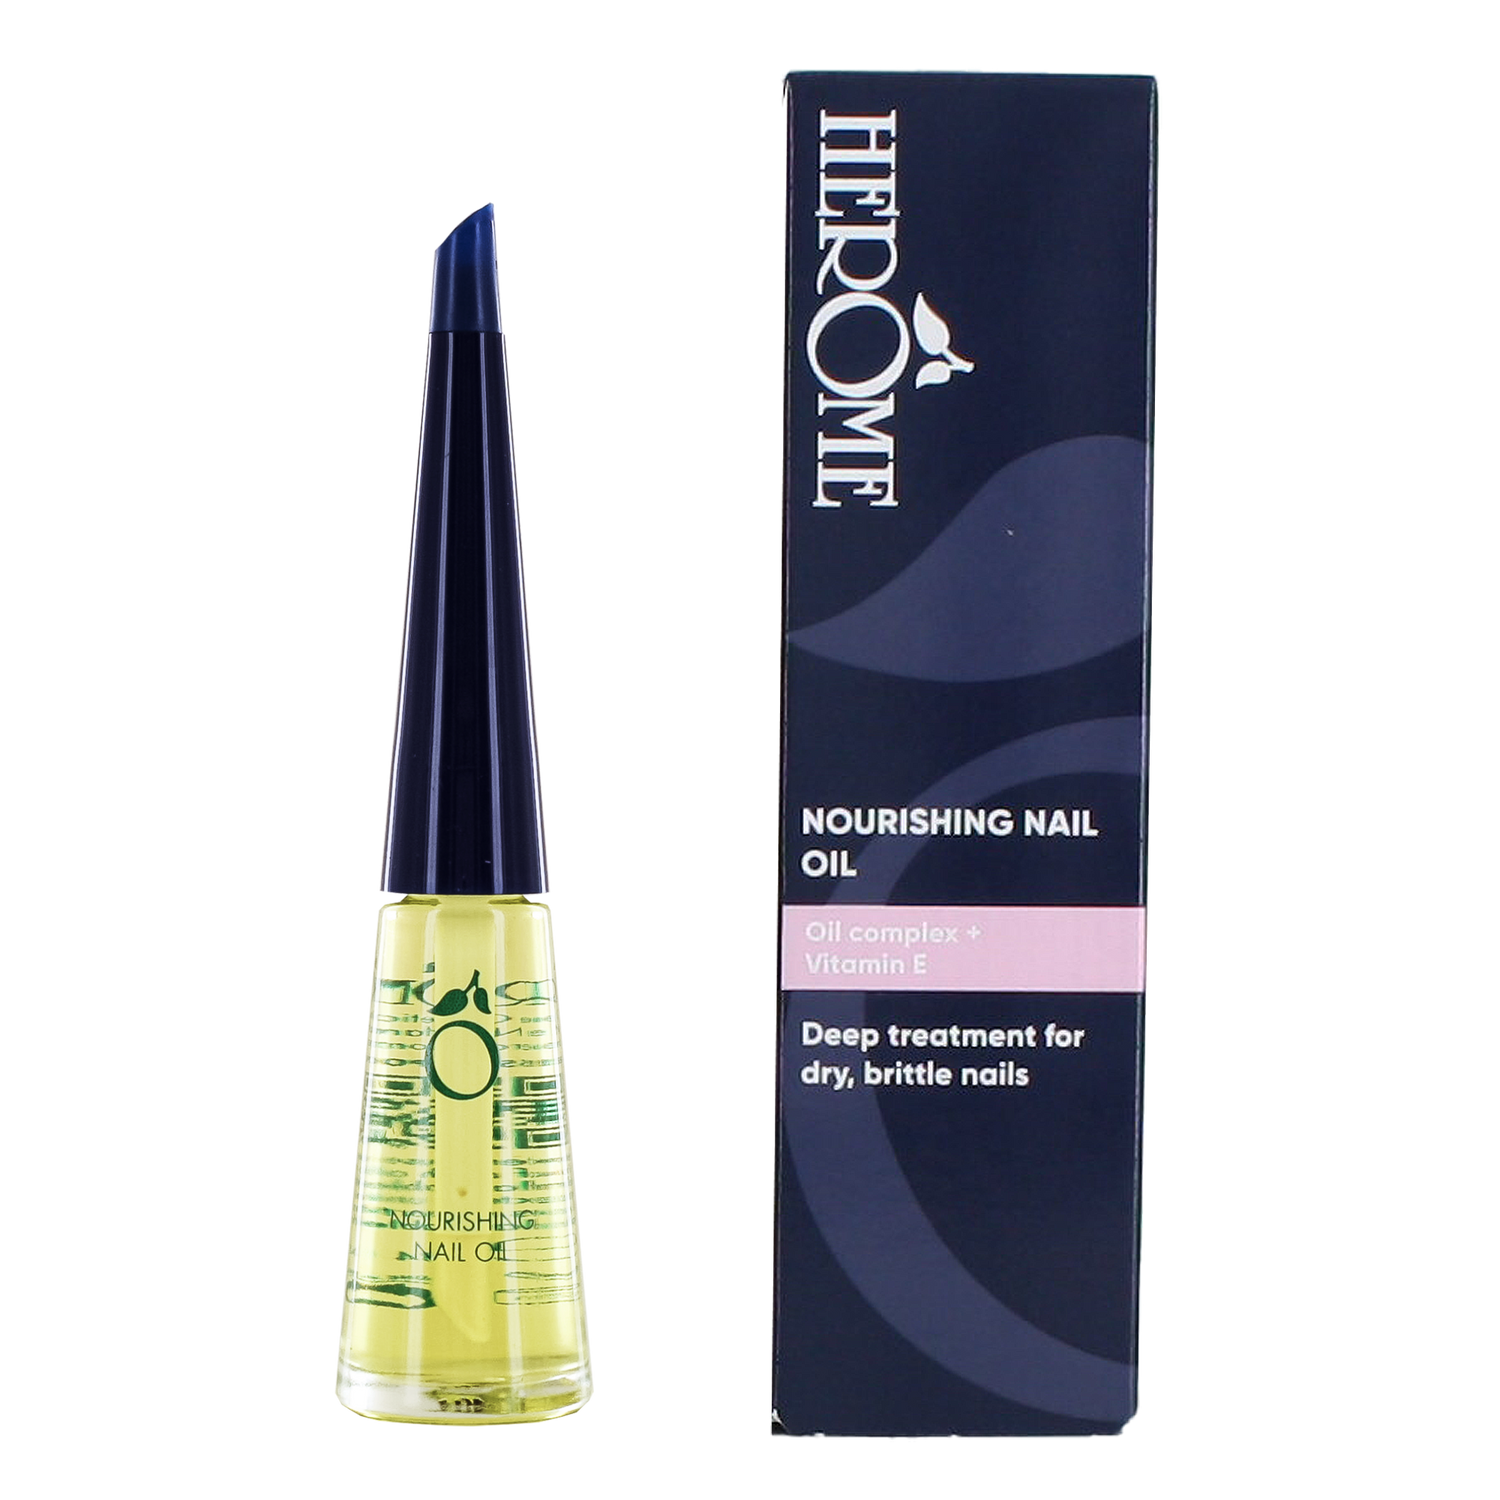
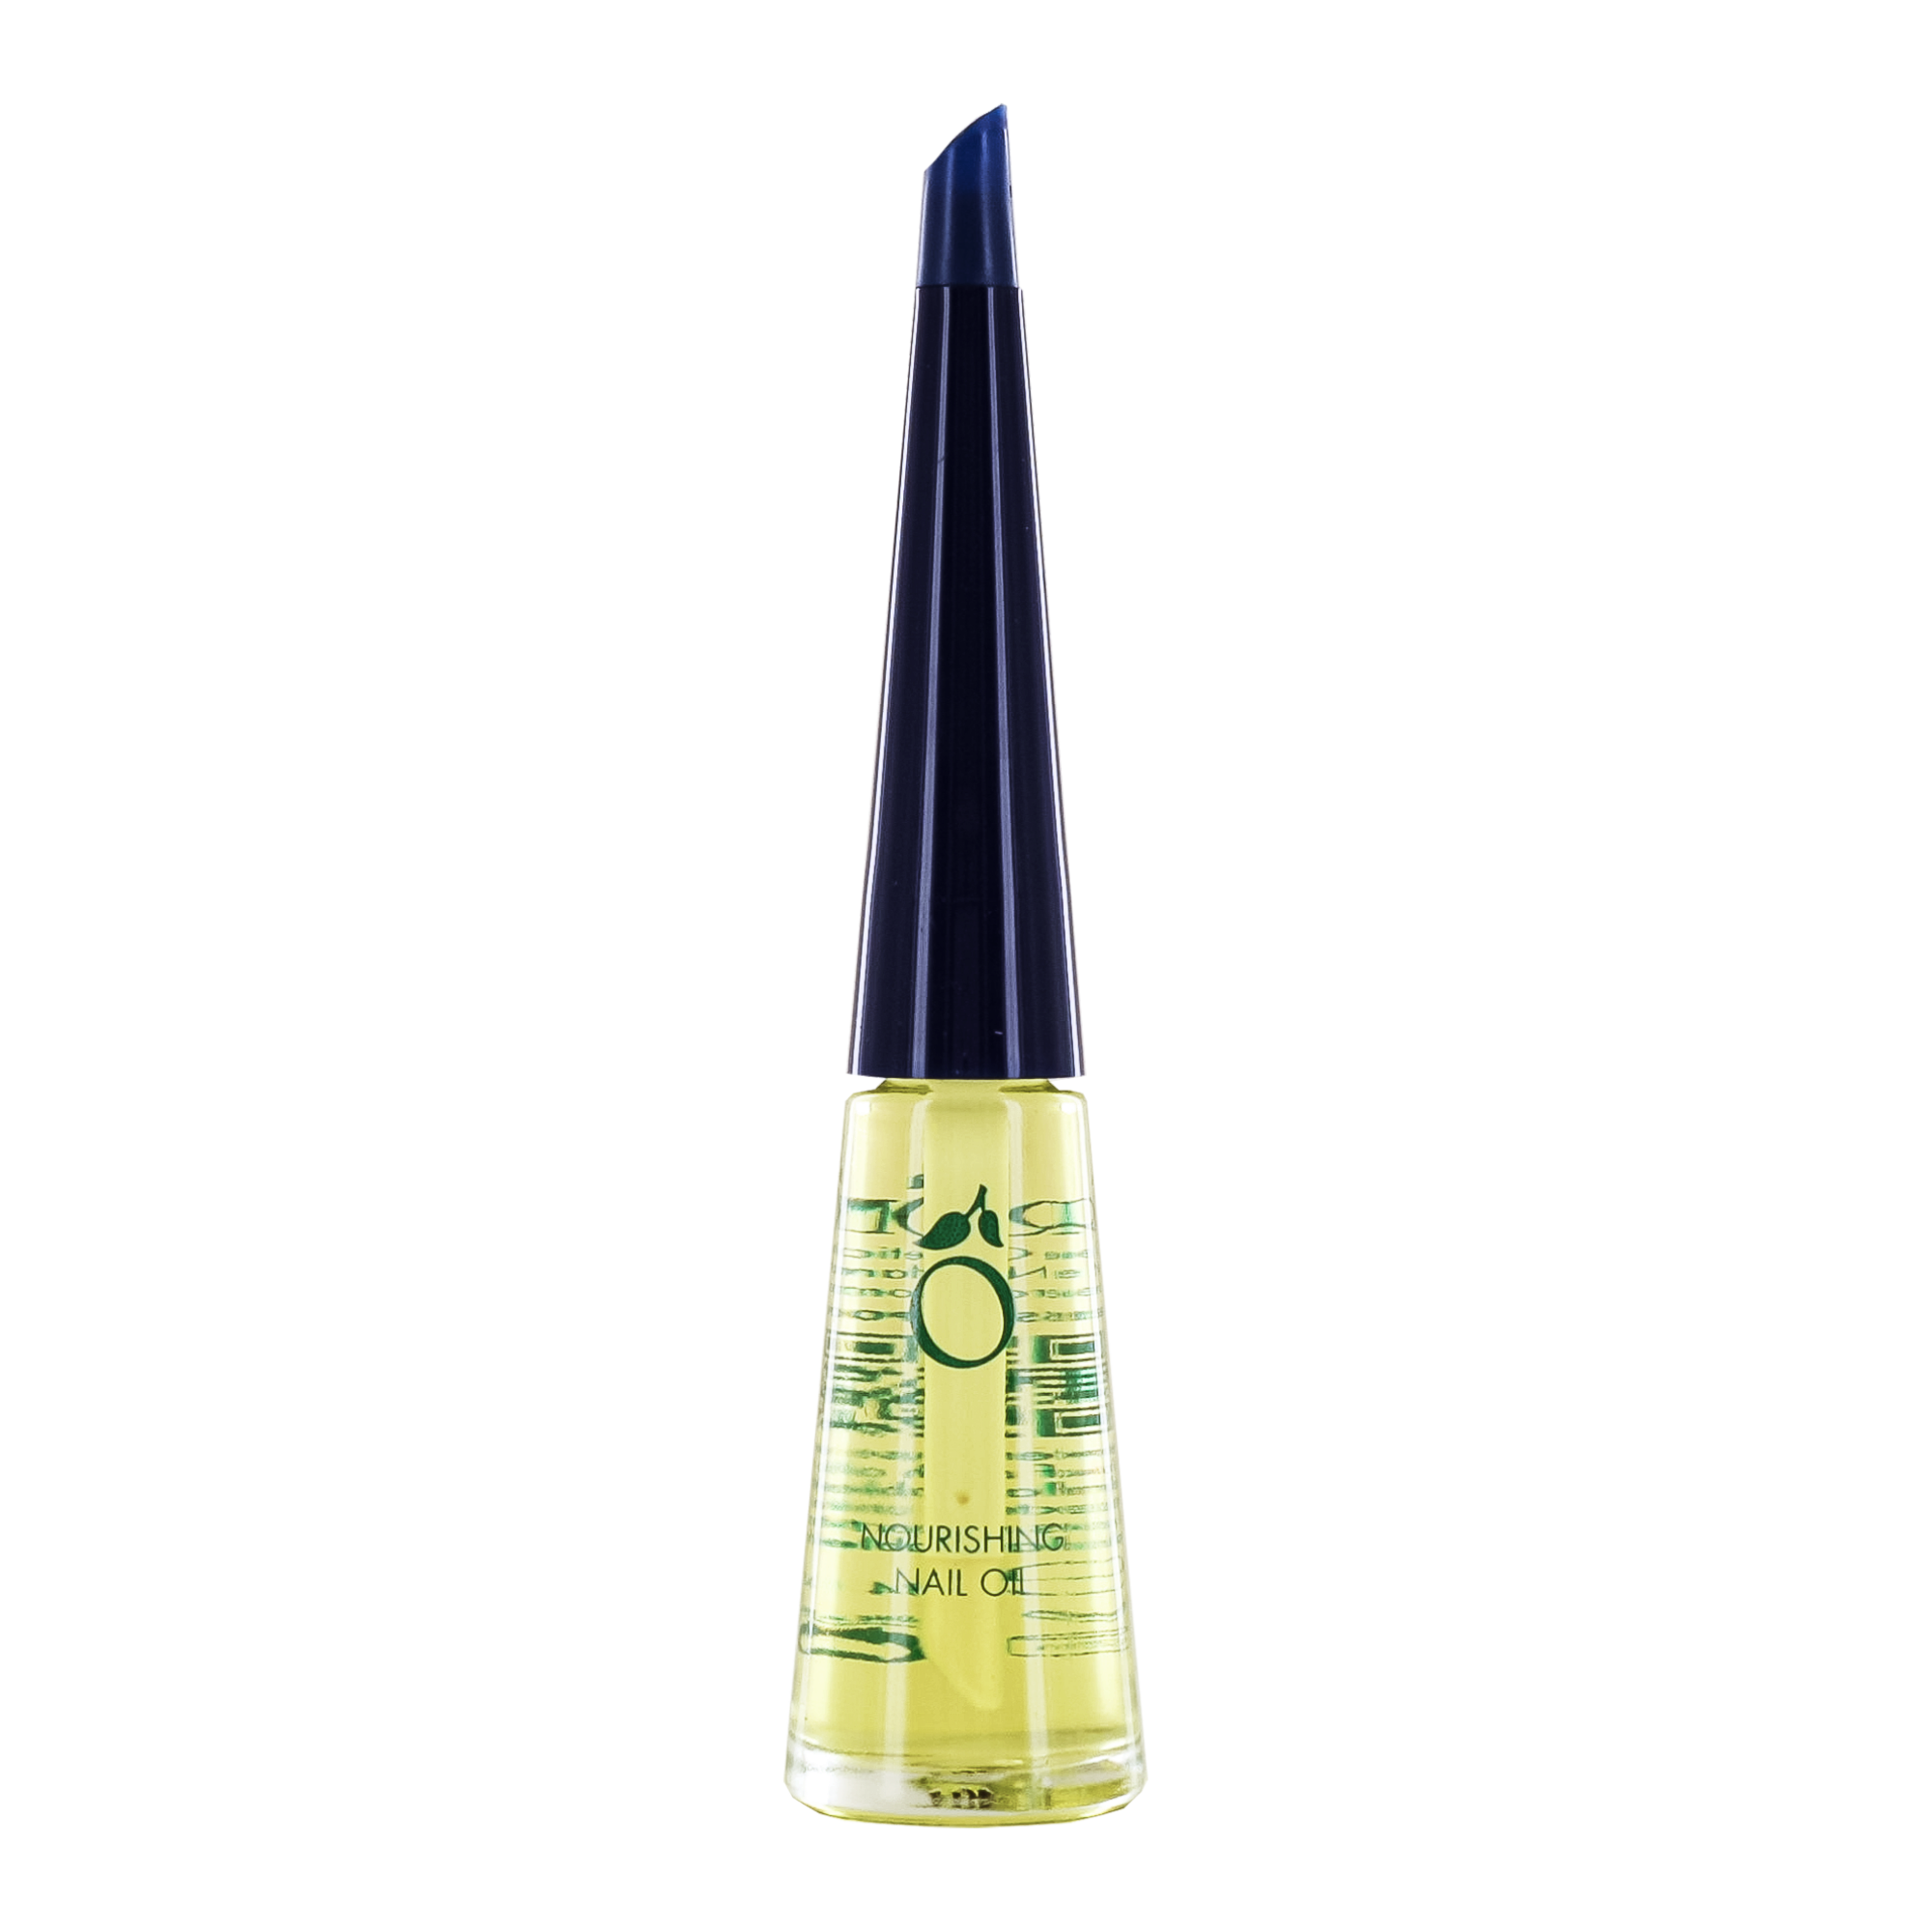
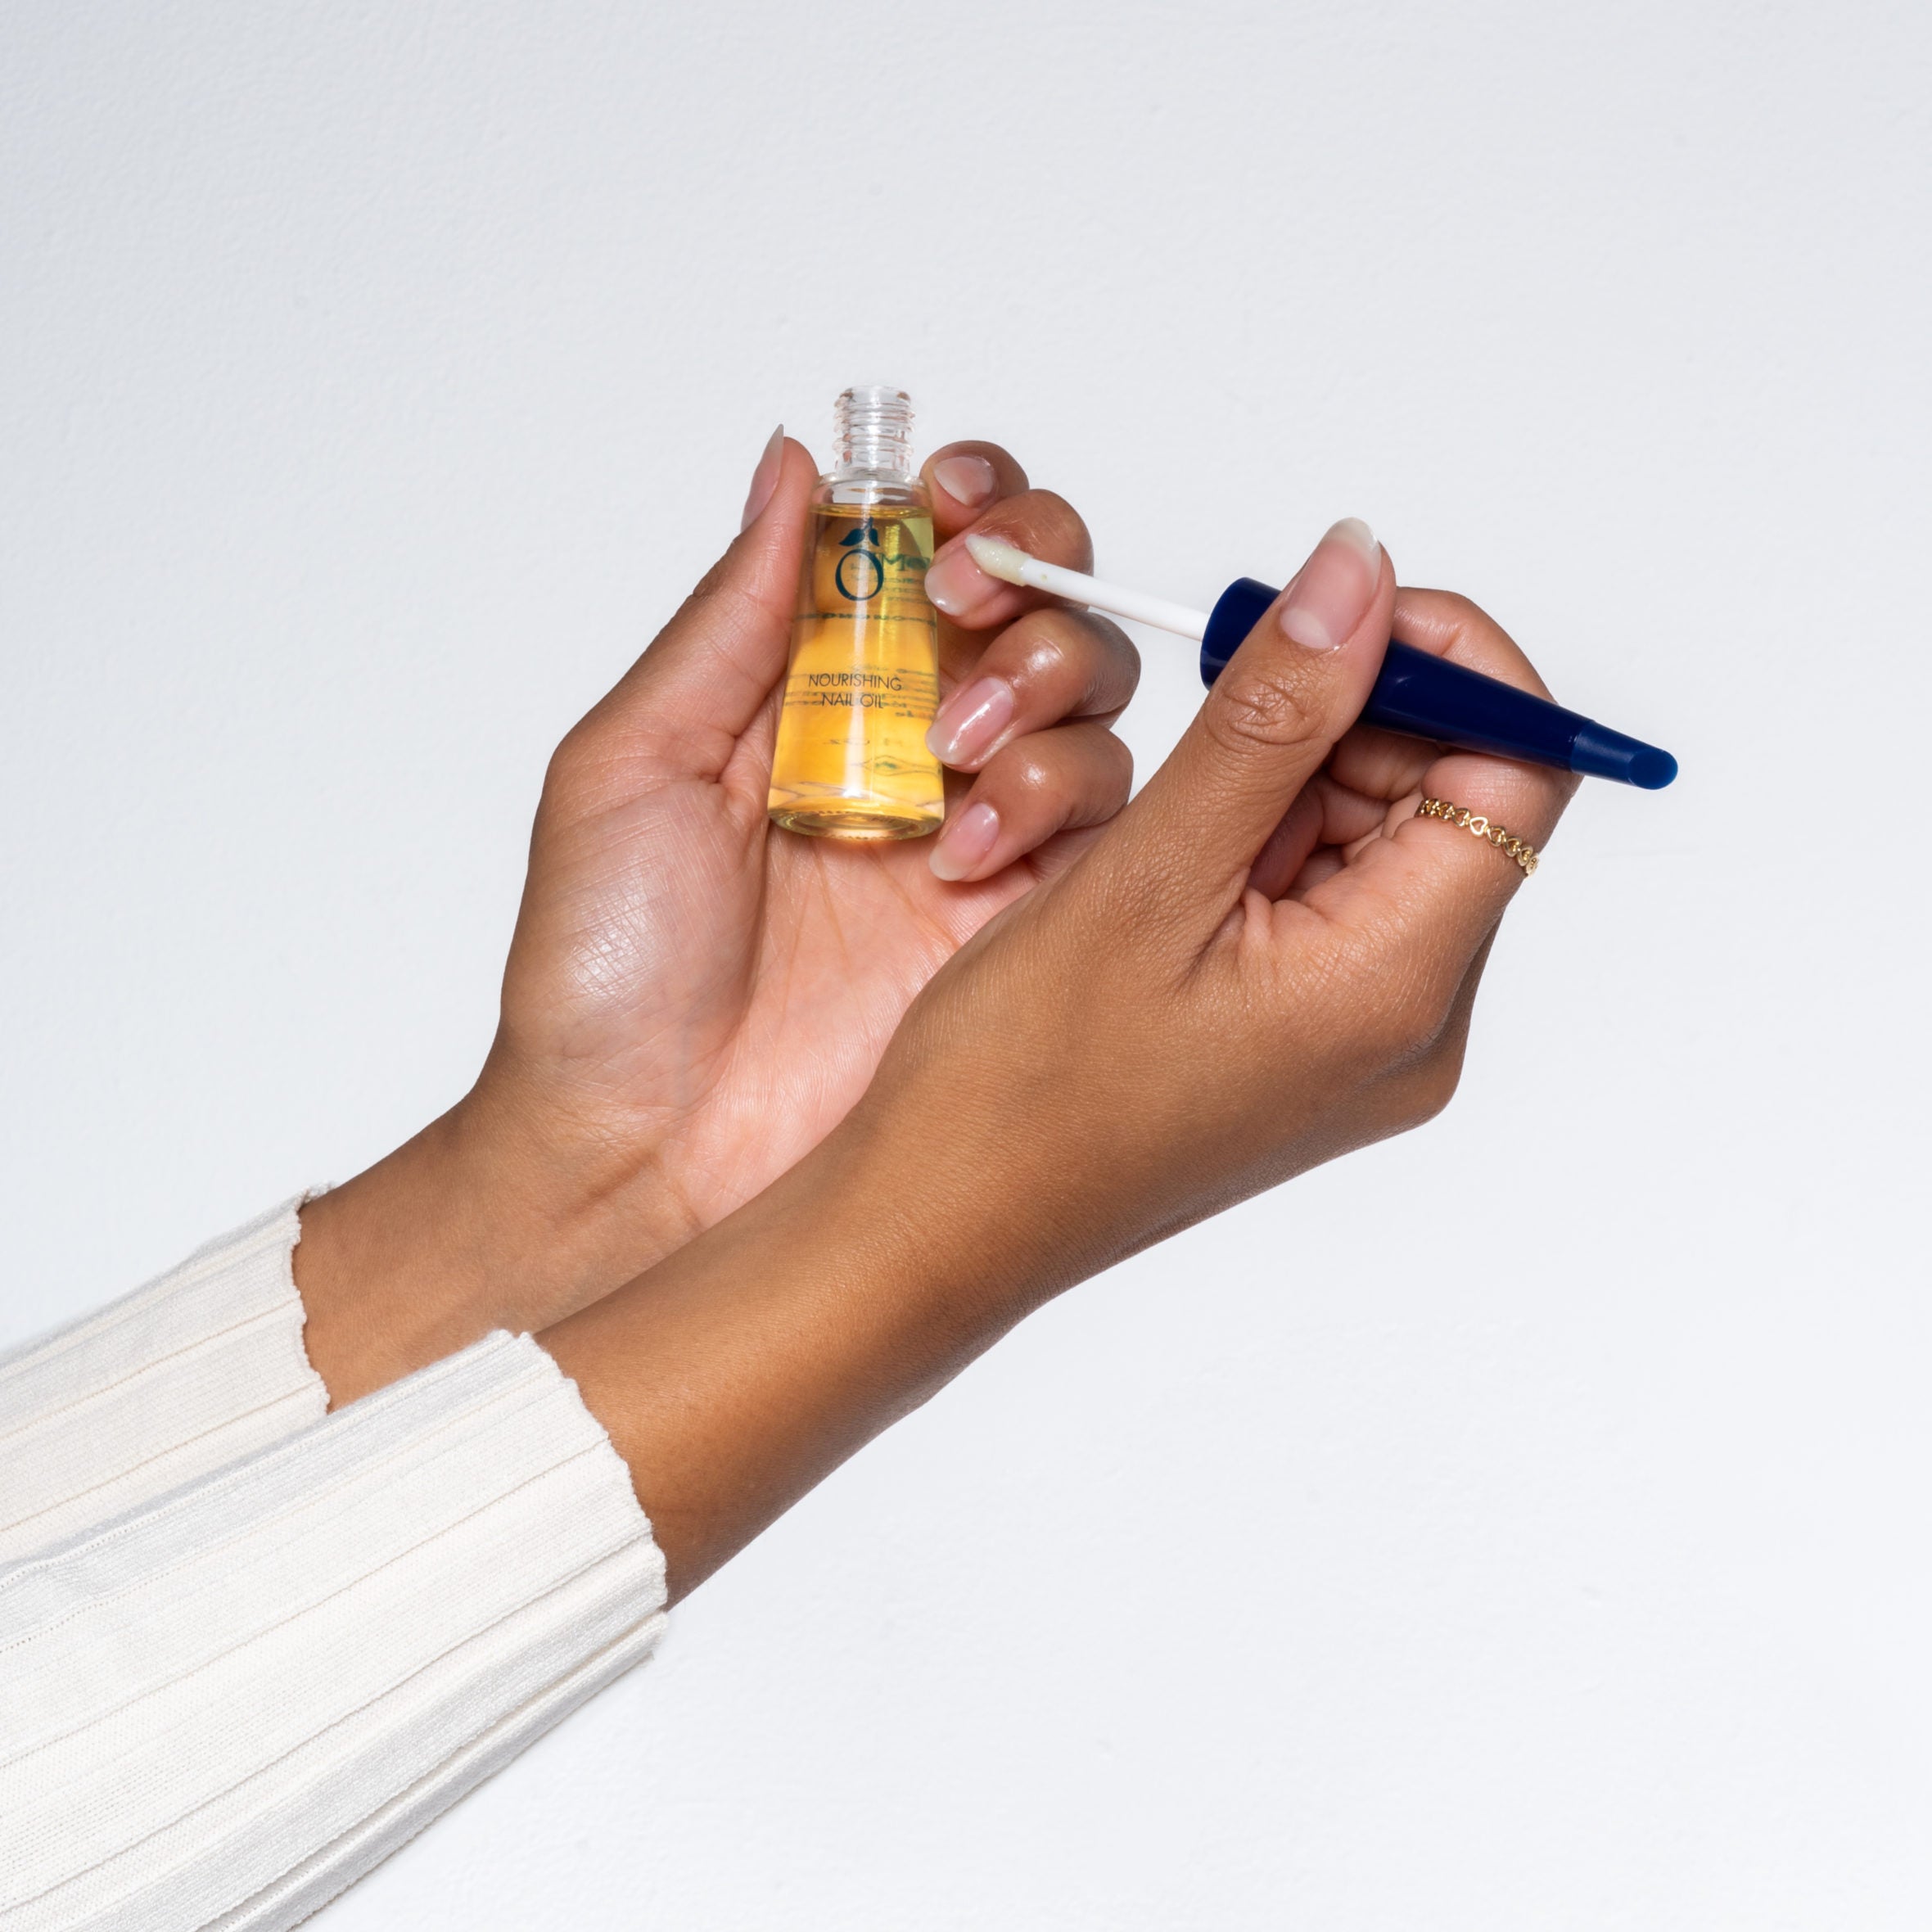
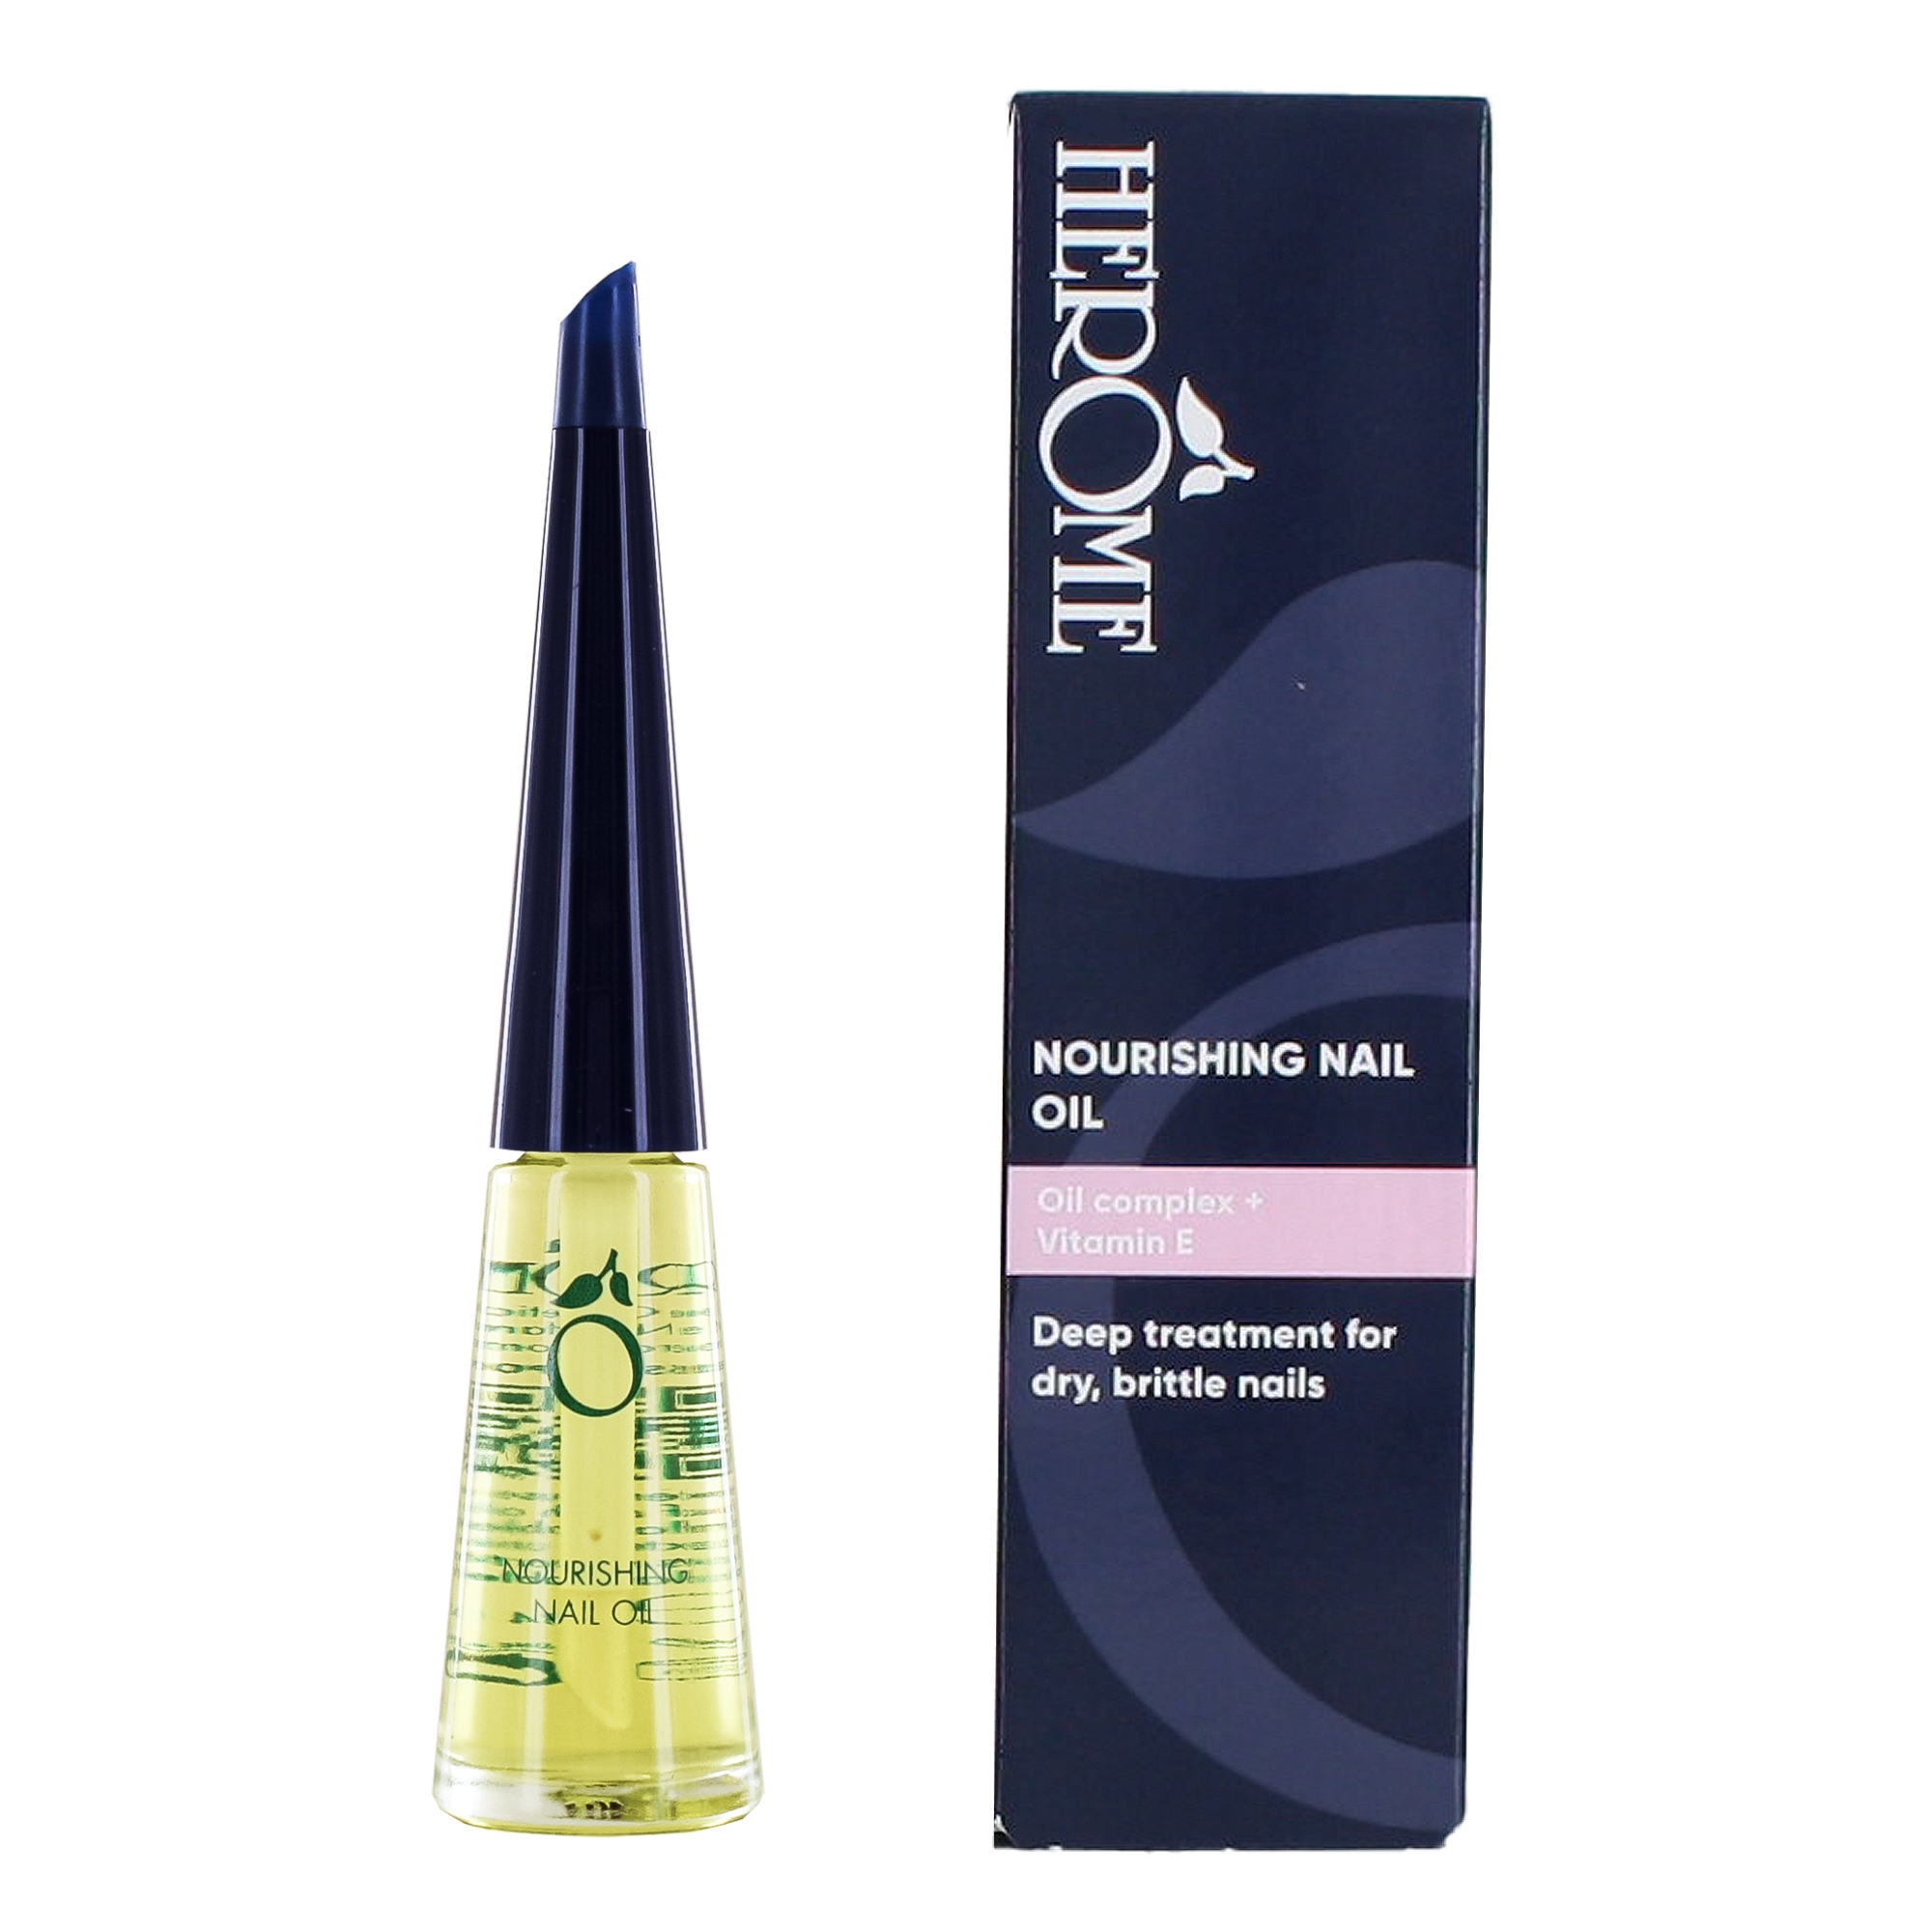
To protect the nail, use a nail oil, such as Herome Nourishing Nail Oil, to remove the Nail Wraps. Spread the oil over the Wraps and loosen the bottom, on the cuticle side. As soon as you lift it up a bit and apply some oil underneath, you can easily remove the Nail Wrap and any remaining sticker residue. Applying new stickers or paint? Degrease the nails for better adhesion with the Herome Caring Nail Polish Remover.